
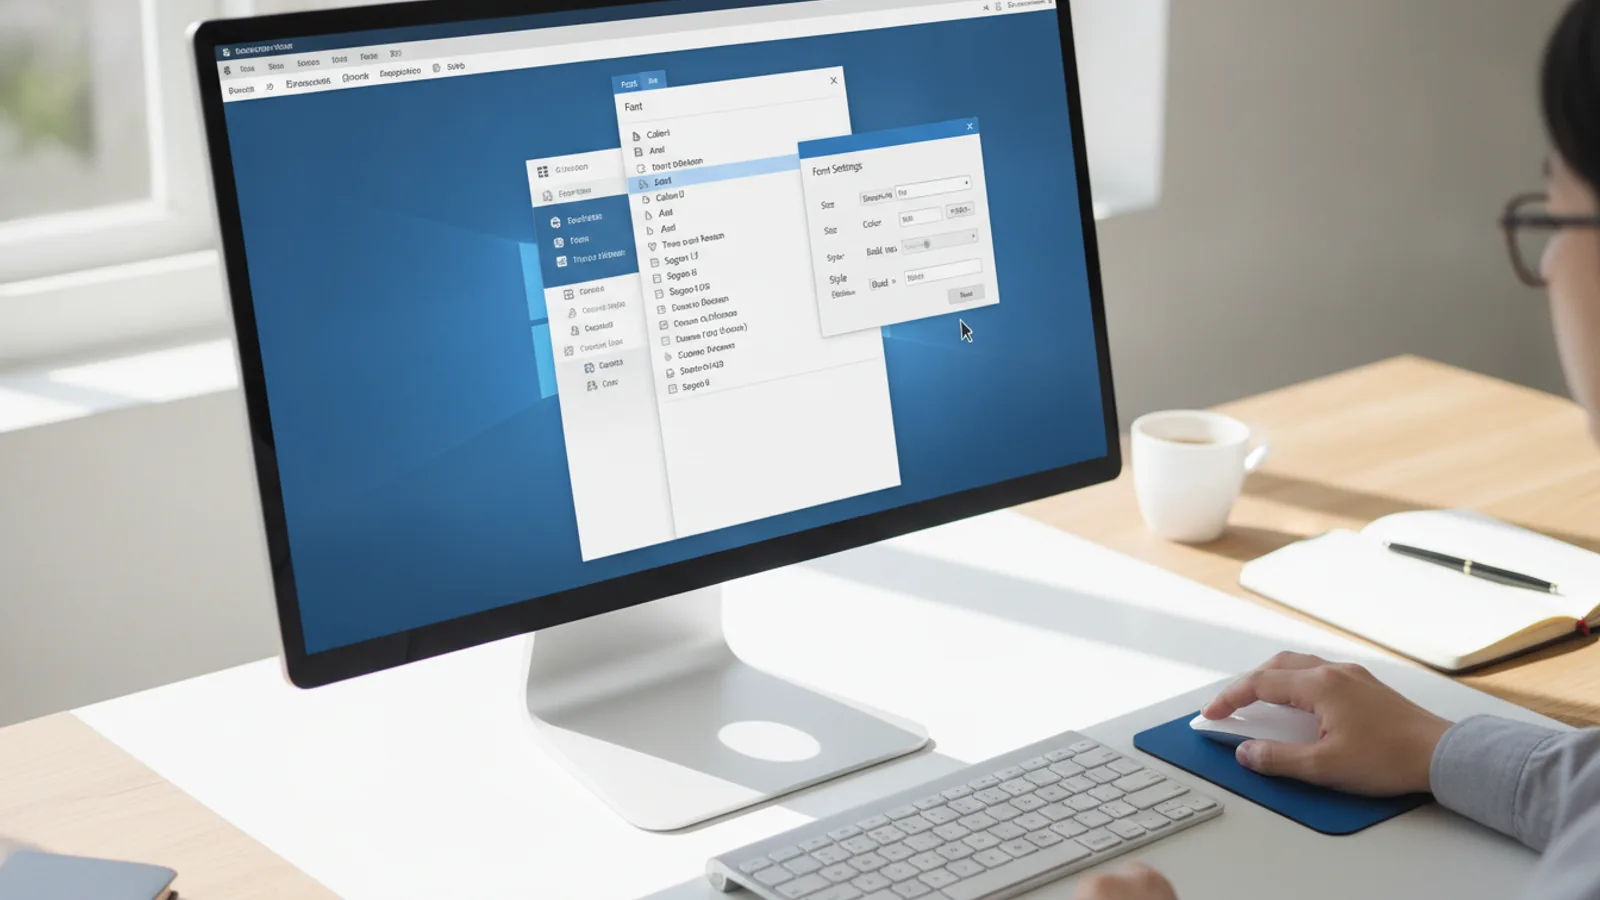
How To Change Font In Outlook
This guide explains how to approach how to change font in outlook, including the preparation, practical steps, common mistakes, and final checks that help you finish with confidence.
Before You Start
Step-by-Step: Changing Fonts in the Outlook Desktop App
The desktop version of Outlook offers the most detailed control over your font settings. These steps apply to most modern versions of Outlook for Windows. The interface may vary slightly on a Mac, but the principles are the same.
Step-by-Step: Changing Fonts in Outlook on the Web
If you use Outlook through a web browser like Chrome, Edge, or Firefox, the process is simpler but offers slightly fewer options than the desktop app.
Quick Reference
Common Problems When You Change Font In Outlook
Sometimes things don't go as planned. Here are a few common issues and how to fix them.
My font choice isn't saving or applying.
If you've followed the steps but your font reverts to the old one, there are two likely causes. First, ensure you are clicking OK or Save on every settings window to apply the changes. Second, if you are using a work computer, your IT department may have a group policy in place that prevents users from changing certain Outlook settings to maintain corporate uniformity. In this case, you'll need to contact your IT support team.
The recipient says my email looks like a different font.
This is the most common issue and is almost always caused by using a font that the recipient does not have installed on their computer. Your beautifully formatted email with a custom font like "Montserrat" will be displayed in a default fallback font like "Times New Roman" on their screen. To avoid this, stick to system-standard fonts like Arial, Calibri, Verdana, Georgia, and Times New Roman, which are available on nearly all devices.
My signature font is wrong.
Changing your default email font does not change the font in your existing email signatures. Signatures are treated as separate elements. You must edit them directly. Go to File > Options > Mail > Signatures, select the signature you want to change, and use the formatting toolbar in the editor to update its font to match your new default.
Advanced Tips for Outlook Fonts
Once you've mastered the basics, consider these tips to further improve your email presentation.
Consider Accessibility
Good font choice is about more than just aesthetics; it's about accessibility. To ensure your emails are easy for everyone to read, including those with visual impairments or dyslexia, follow these best practices:
Use Themes for a Cohesive Look
For more advanced customisation in the desktop app, you can explore Themes. In the "Signatures and Stationery" window, next to the "Personal Stationery" tab, you'll find a Theme tab. A theme applies a coordinated set of fonts, colours, and even background graphics to your emails. This can be great for personal newsletters or less formal communication, but it's often best to avoid complex backgrounds for professional messages as they can increase file size and be distracting.
Set Different Fonts for Different Accounts
If you manage multiple email accounts in Outlook (e.g., a personal one and a work one), you can set different fonts for each. Before you go to `File > Options`, make sure you have the desired account's inbox selected in the main Outlook window. When you set up signatures and fonts, they are typically associated with the currently selected account.
How To Change Font In Outlook FAQ
Final Checklist for Changing Your Outlook Font
Before you move on, run through this quick checklist to ensure your settings are perfect.
FAQ
What should I check before I start?
Check the goal, the key prerequisite, and any current instructions that could change the safest next step for how to change font in outlook.
How can I tell whether the result is working?
Use the practical checks in the guide, pause if a required step is unclear, and verify the finished result against the intended outcome.